Patel Gaming Projects
Samurai Security Robot
Time Duration: 09/01/2024 – 23/04/2024
This shows the process of how I’ve created the security guards being in the form of a robotic samurais that the player must avoid without being detected allowing them to complete their objectives.
Research
These are reference images of different samurai-based characters; some of characters having some robotic designs that gives me ideas on how I should character’s design should look.

Sketches

These are the 5 different prototype sketches of the security robot I made from using Photoshop. Each sketch shows designs of full faceless black metal body and white samurai armour; the designs have different helmets, face plates, and different layouts of the armour, the colour of the armour I choose to be white since it represents symbol of death in Japan. I choose to use the 2nd sketch of the security robot for my final character sketch.
Final Sketch
This represents my final protagonist sketch from the front & side viewpoints with description on the characters profile.

Modelling Process
This model was created in 3ds max just like the character protagonist model.

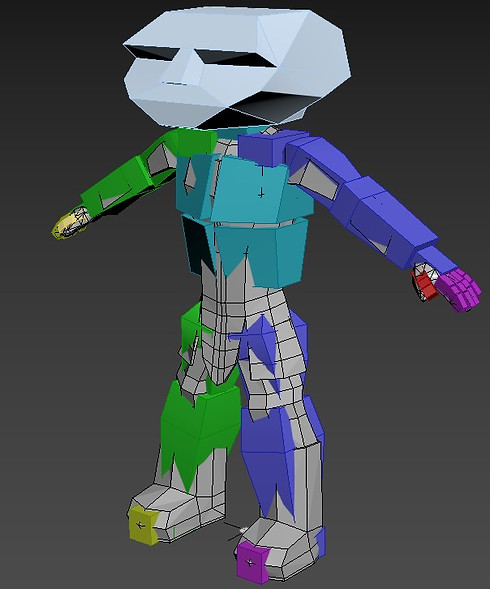
1) I chose to reuse the same body and head models from the protagonist to create the faceless robot security guard.
2) I started by extruding the faces on the feet to create the boots.

.jpg)
.jpg)
3) I used to create the chest armour front and back parts of the armour with straps, as well as the loincloth for the front and back.
4) I extruded some of the faces from the shoulders & wrists to create the shoulder pads & wrist gauntlets of the character, and I re-extruded the armour strap faces and used the weld to connect the pivot points.
.jpg)
.jpg)
.jpg)
.jpg)
5) Then, I used the extend tool created the helmet and face plate for the head.
6) I used the attach tool to merge each model into one and editing the UV map. I had to reedit the helmet of the model for the head movement to work.
.jpg)
.jpg)

7) Finally, I added a biped skeleton to the character model and edited the envelopes of the model.
Creating Material Maps
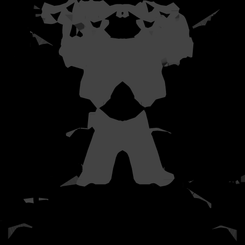
I simply just used the Adobe Substance 3D Painter for creating the material maps, I used only one material in two separate colours with the black mask.


Reflection on Asset Process
The improvements towards the Samurai Security Robot asset:
-
Alter the topology to make the model taller than the protagonist
-
Redesigned of material maps such as showing an outline of gaps around the body indicating it’s more robotic
-
Created some animations for the character
-
Not to waste time on creating the assets due to the time duration being long


